|
|
Post by richard1 on Apr 26, 2013 18:58:39 GMT
|
|
|
|
Post by silve1999 on Apr 26, 2013 20:29:10 GMT
this is awesome, love the progress keep the pics coming  |
|
|
|
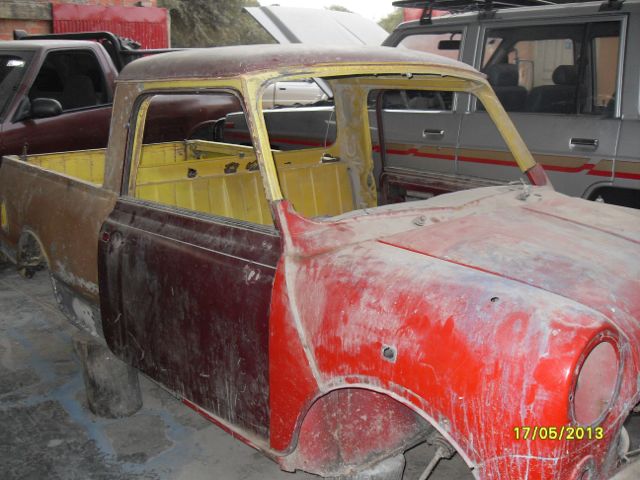
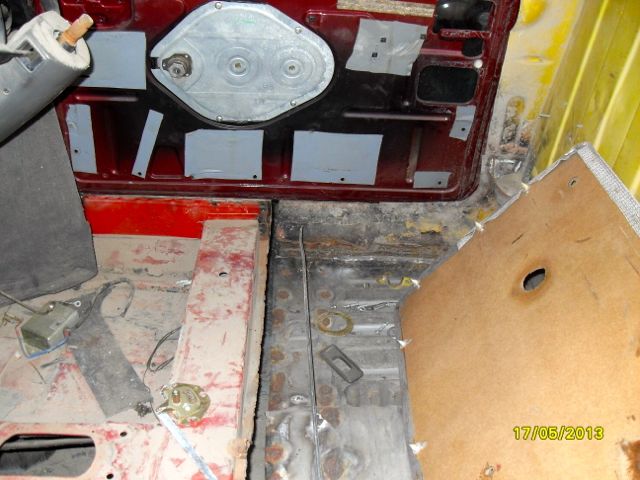
Post by richard1 on May 17, 2013 23:07:36 GMT
|
|
|
|
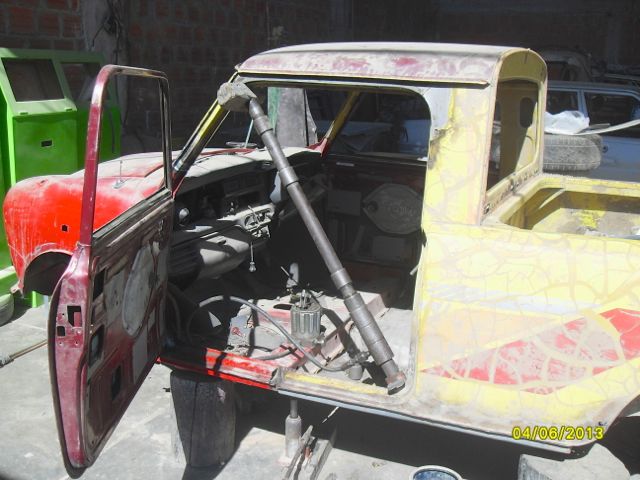
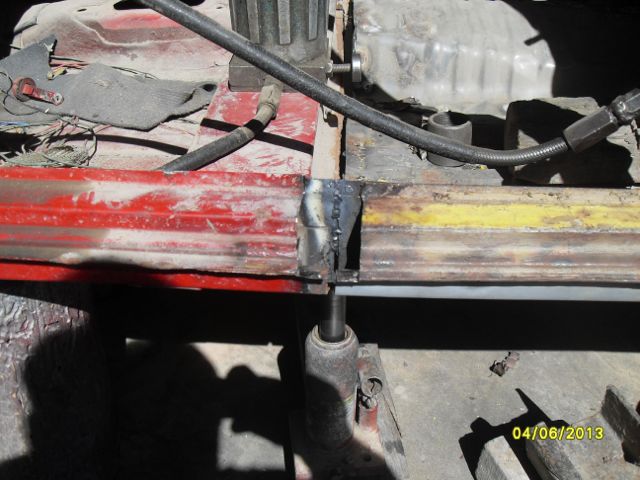
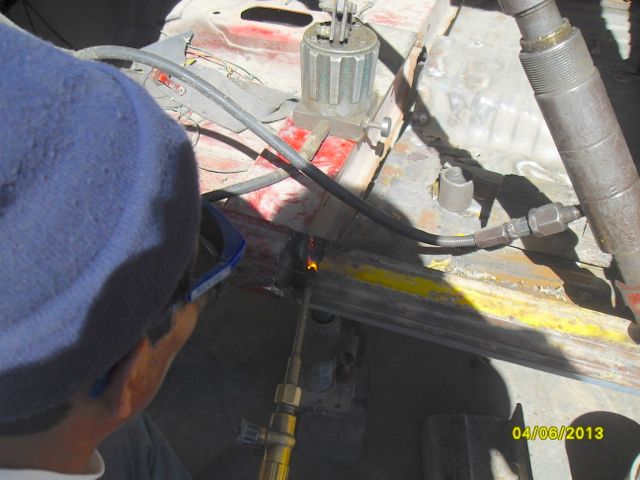
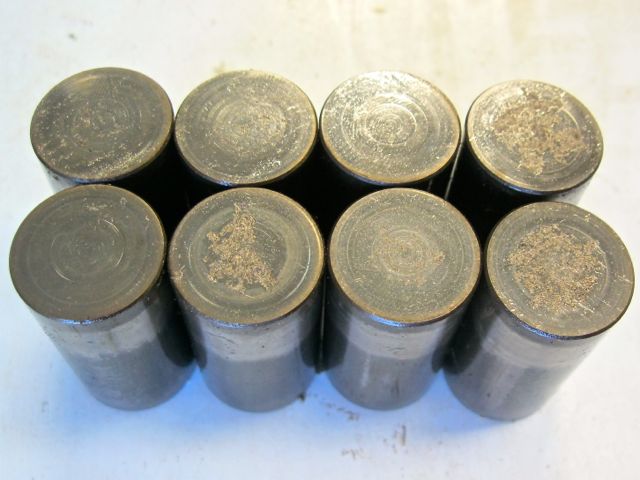
Post by richard1 on Jun 5, 2013 23:44:02 GMT
|
|
|
|
Post by shoutforjoy on Jun 11, 2013 9:50:59 GMT
This is a great project. It's going to look great when it's finished. Keep the progress updates coming.
|
|
minimanryan
Full Member
 ive got projects coming out of my ears
Posts: 132
|
Post by minimanryan on Jun 15, 2013 19:53:32 GMT
keep the pics comin g looking good
|
|
|
|
Post by richard1 on Jul 3, 2013 0:15:23 GMT
A couple of small hydraulic jacks to square up the body  Also got my heat shield back from my Chrome guy 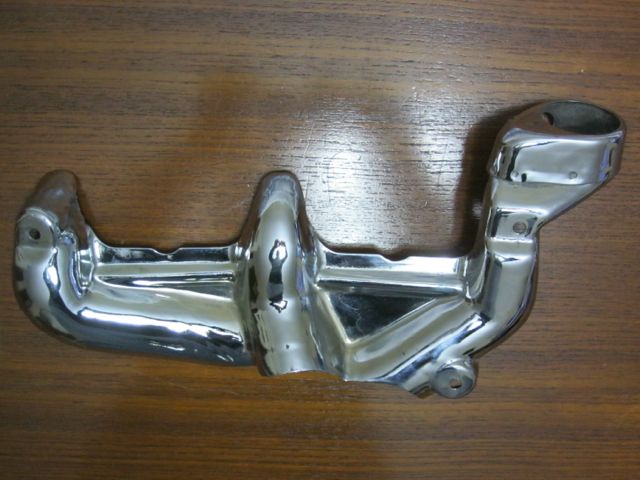 and my box of parts from Mini Sport 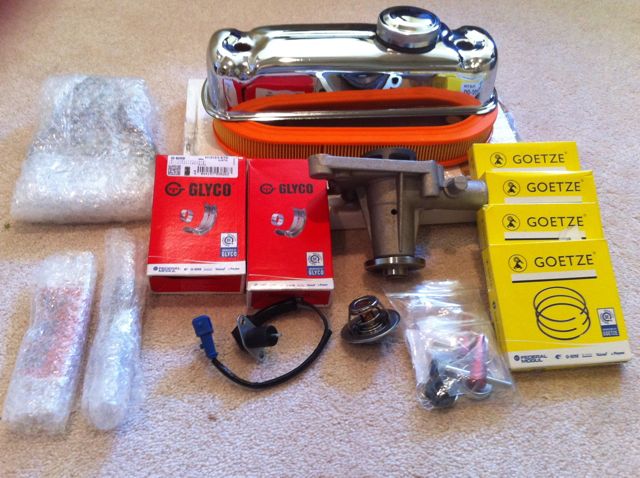 |
|
|
|
Post by richard1 on Jul 21, 2013 19:04:06 GMT
|
|
|
|
Post by niceboy1275 on Sept 27, 2013 12:19:17 GMT
Looks great! Any more progress shots?
|
|
minimanryan
Full Member
ive got projects coming out of my ears
Posts: 132
|
Post by minimanryan on Oct 12, 2013 9:32:01 GMT
love it im doing the same front end prosses with my estate have you any more pics as its good help cheers
|
|
|
|
Post by richard1 on Oct 14, 2013 23:50:33 GMT
|
|
|
|
Post by richard1 on Oct 20, 2013 23:38:08 GMT
|
|
|
|
Post by notamini on Oct 23, 2013 0:30:58 GMT
I would be happy with just 1/3rd your talent!!
|
|
|
|
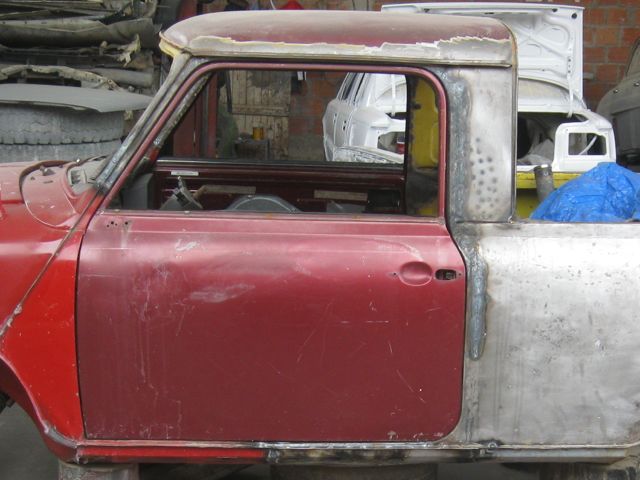
Post by richard1 on Nov 2, 2013 15:52:28 GMT
|
|
|
|
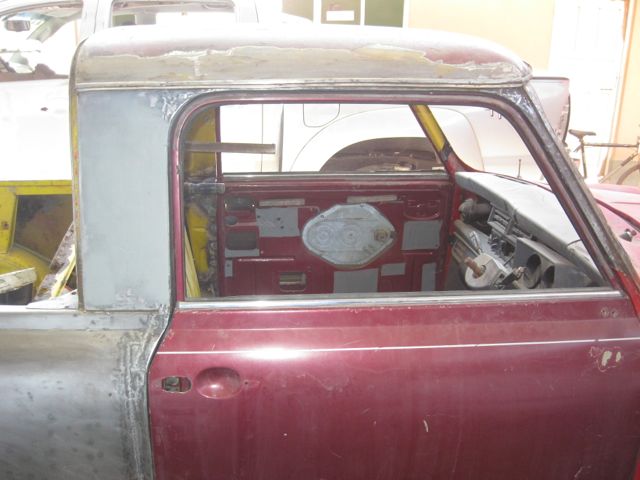
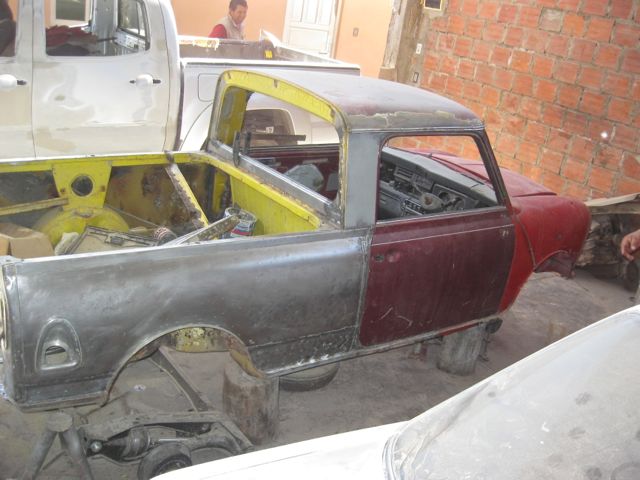
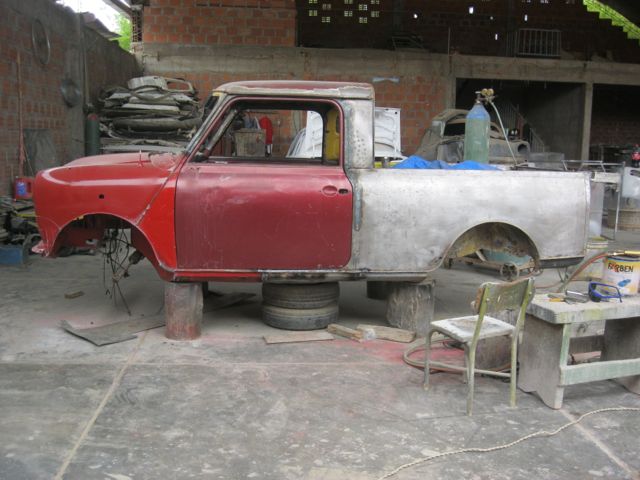
Post by richard1 on Jan 1, 2014 13:09:34 GMT
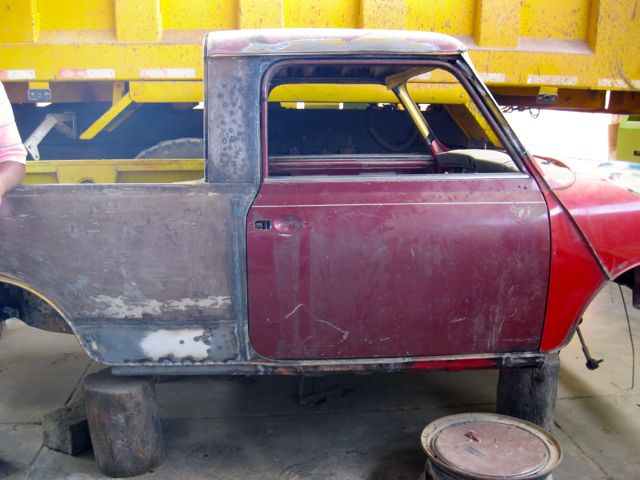
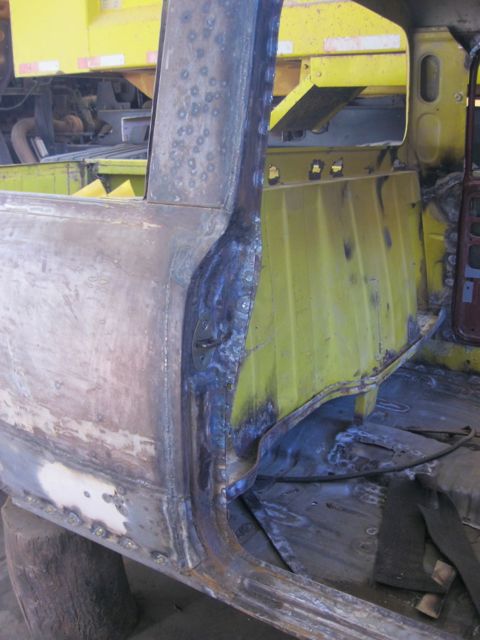
In the weekend I just spent in Tarija I got a few things done. First put the rear wheels with 3/4" spacers on. From there we could see what needed to happen to finish the design of the flares, bringing the rear in closer to the wheel well and narrowing it a bit so it just passes the tire position. What you see here is the final design (except it is missing a little tail piece in the front. Then the front discs. They will set the track 6 cm wider in front than the rears with the spacers, so the flares needed to be 3 cm wider than the rears on each side. So a little forming, welding, forming, etc. In these pics the front one still needs some rounding, plus forming of the ends. But you get the idea. Then we will add the inner liner, welded to the inner wheel well. Final design 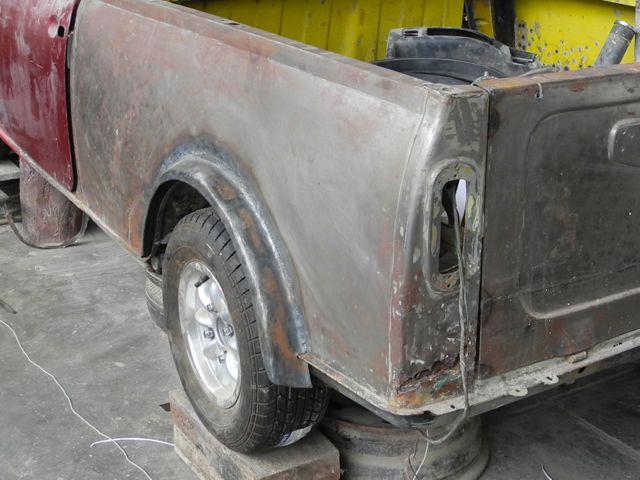 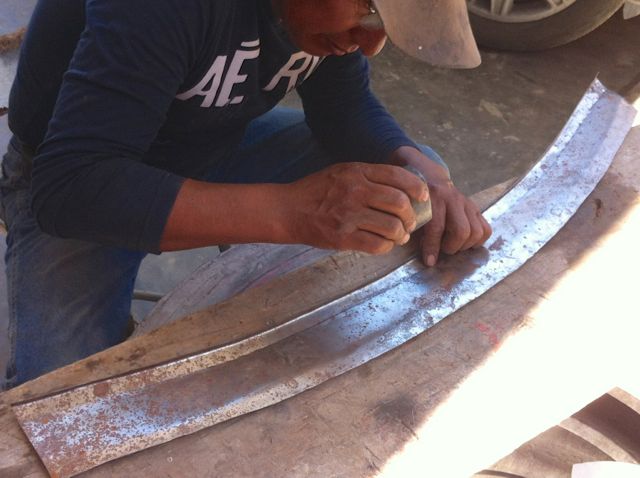 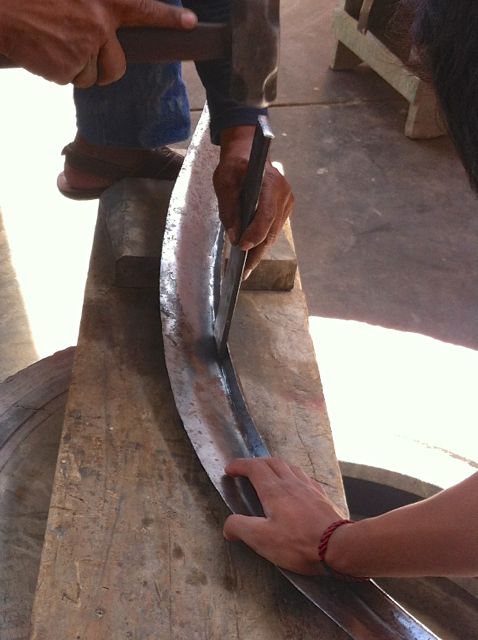 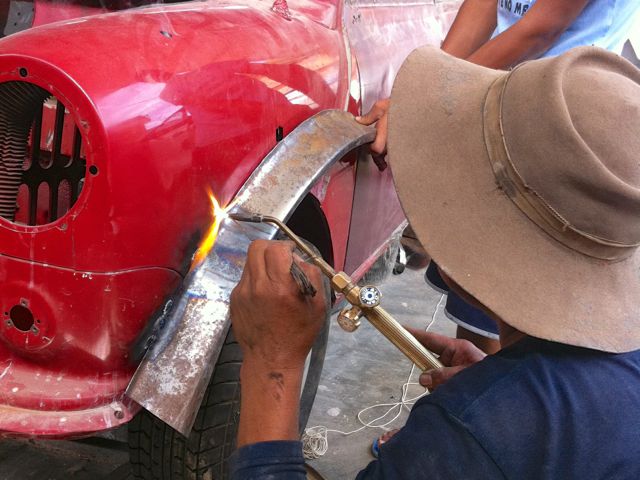 heating to bend to wheel well 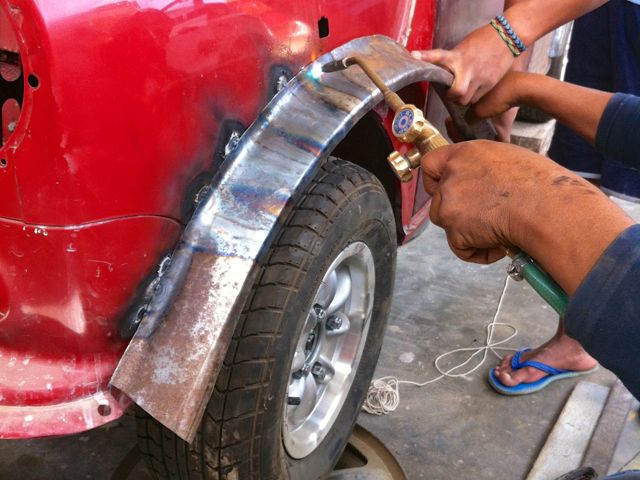 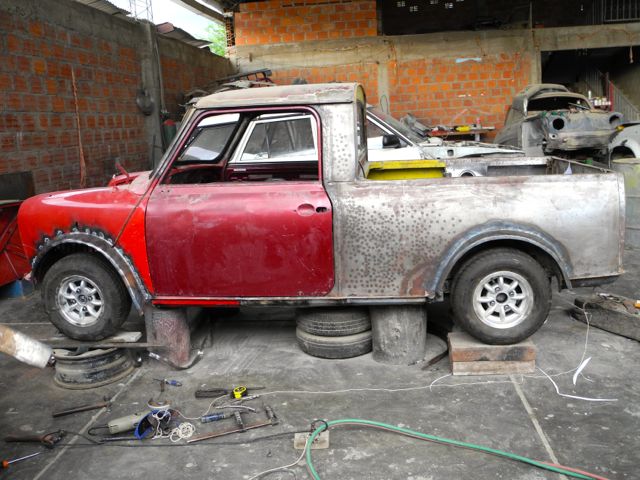 |
|
|
|
Post by (minisniper) on Jan 3, 2014 9:57:48 GMT
It's looking great and what a lot of hard word and love you have put into it, I'm sure when it's finished you will be so proud, I know for me I'm looking forward to more from you so good luck .  |
|
minimanryan
Full Member
ive got projects coming out of my ears
Posts: 132
|
Post by minimanryan on Jan 18, 2014 10:08:56 GMT
Wow id love to even have a tiny bit of your talent car looks amazing alit of hard work has gone into this
|
|
|
|
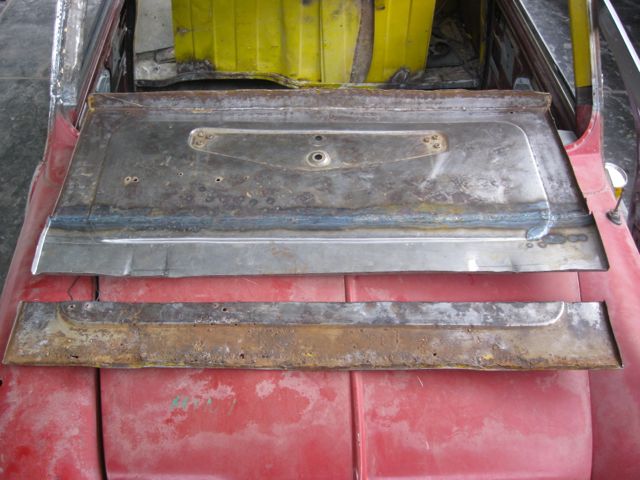
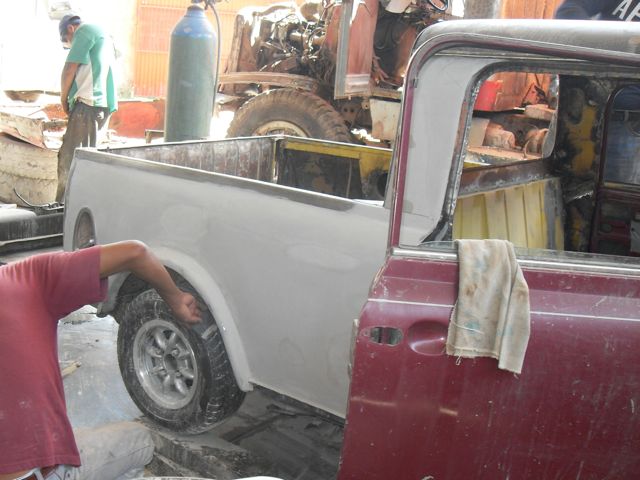
Post by richard1 on Feb 9, 2014 20:24:29 GMT
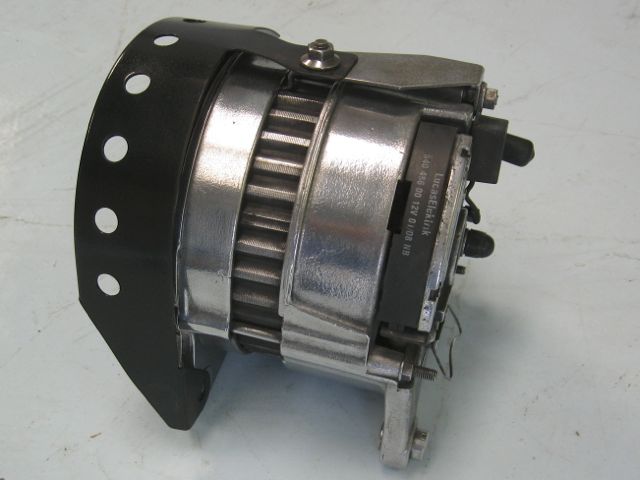
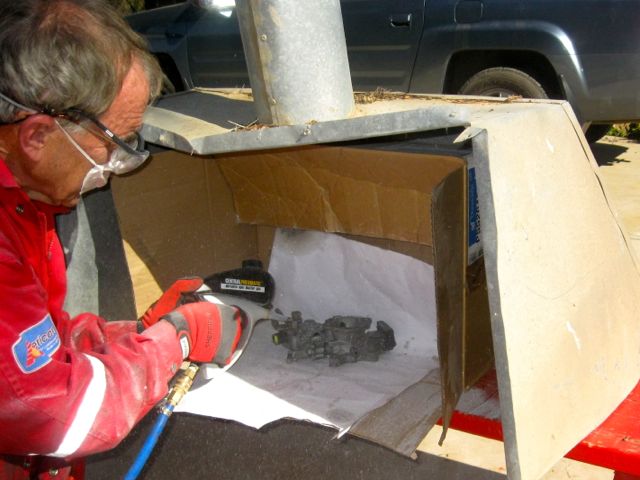
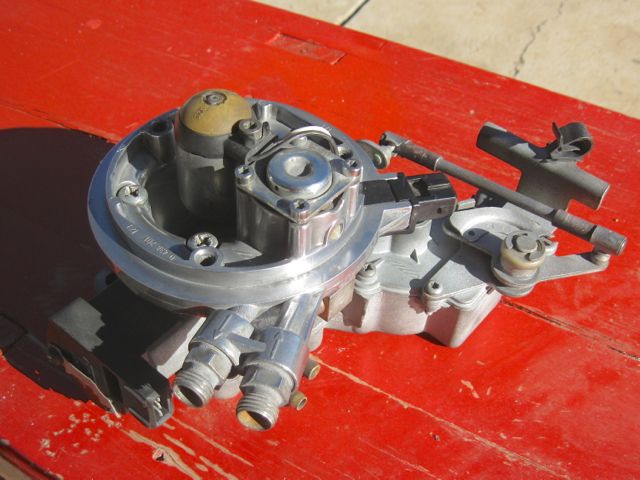
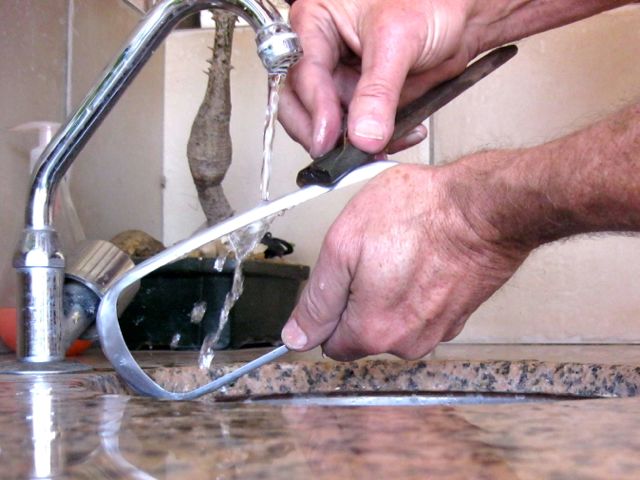
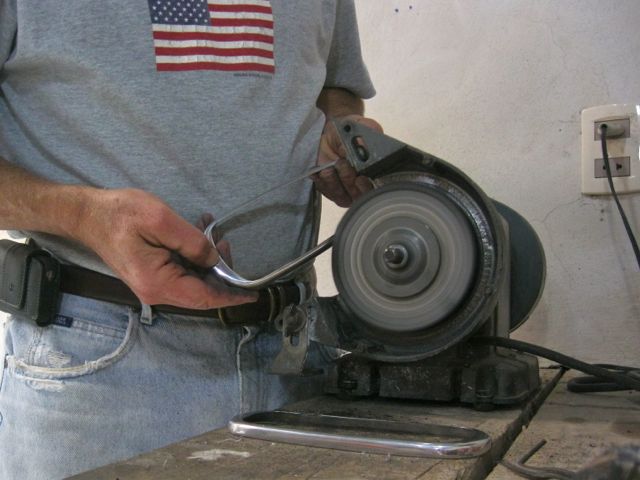
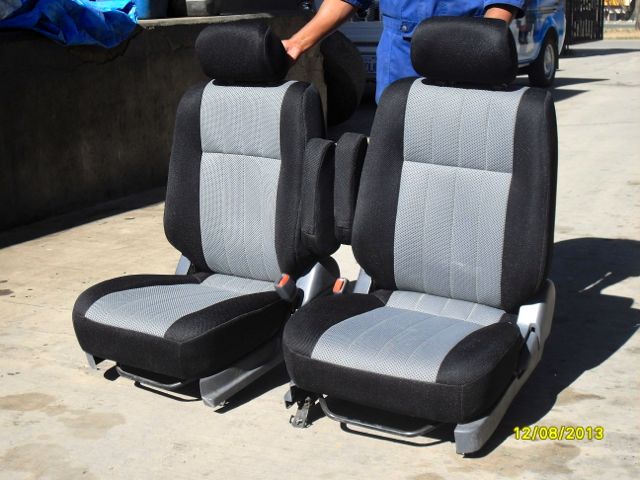
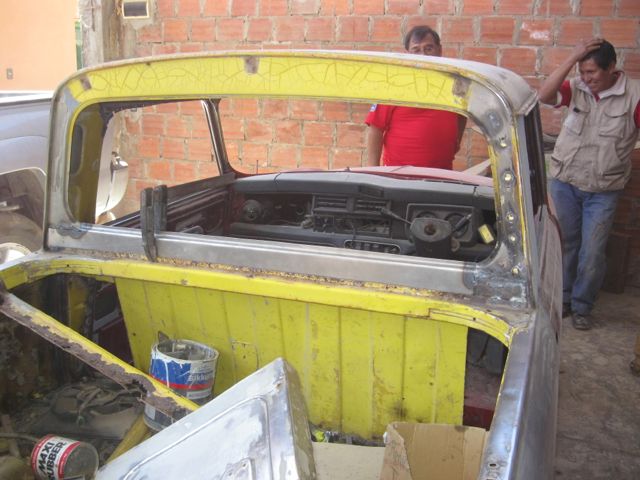
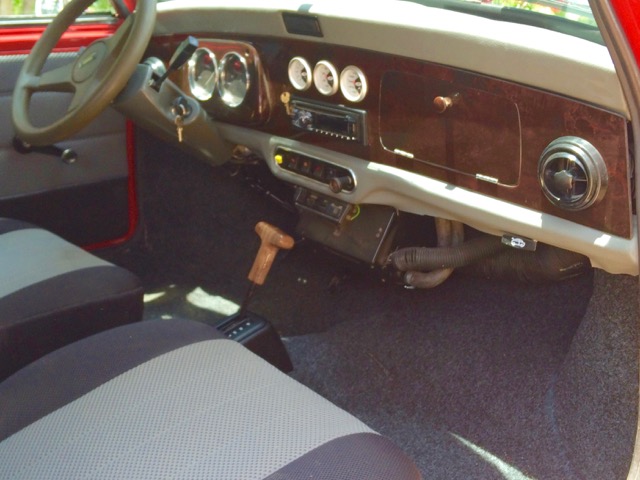
Finished up the fenders 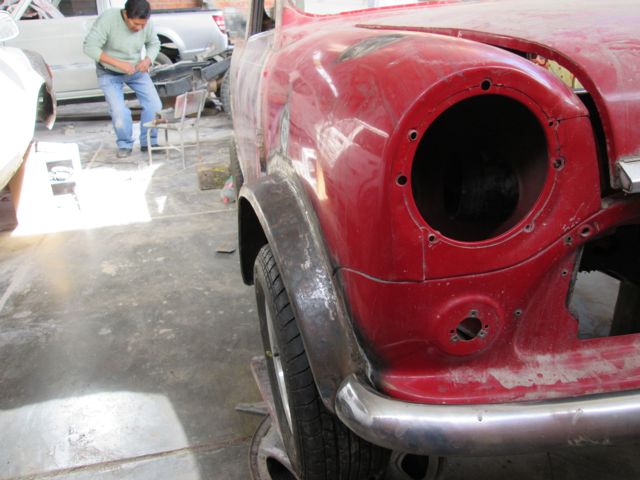 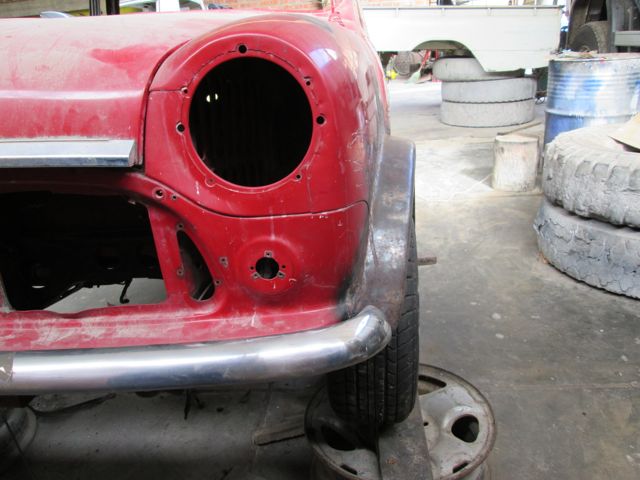 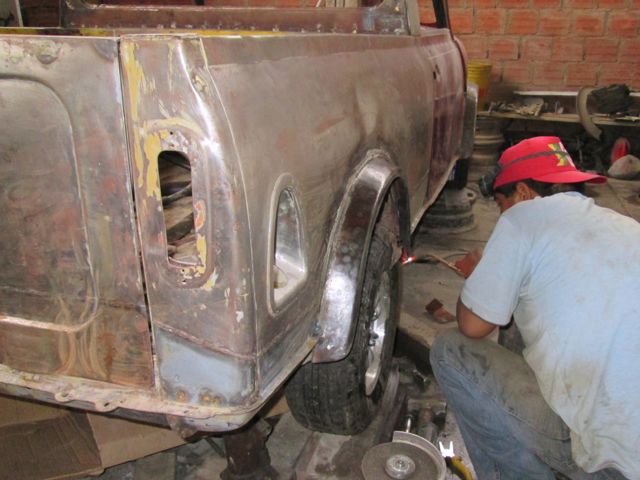 Then took few hours away from work to get into details, as we approach the painting stage. Putting in the seats I found that the steering wheel is too far inboard to center on the ones I bought with the arm rests, so I went to the used auto parts store and picked up a couple of u-joints, relocating the steering column a few inches to the outside. 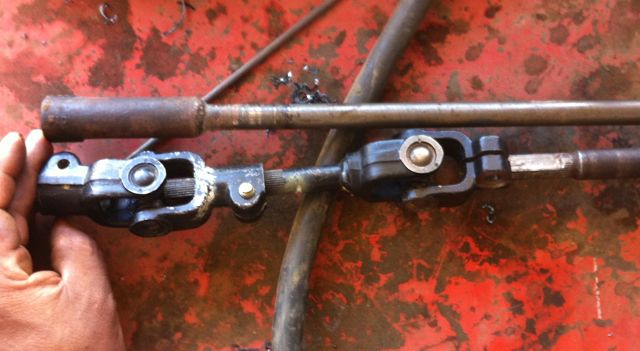 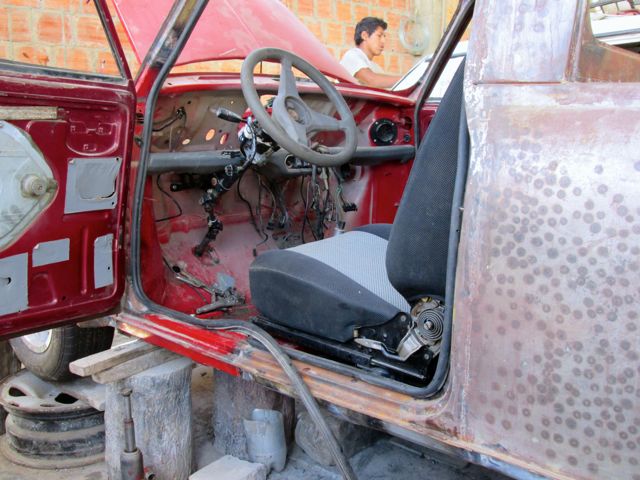 Also decided that the little chain and pin on the tailgate were not of the quality I wanted on the finished truck, so I bought some plastic coated stainless cable and a couple of stainless bolts, chopped off the threads, inserted the cable, etc.  And painted all the little parts that would need it. Here is the brake booster.  Finally I got the wooden dash from MiniSport out and modified it to receive the dash cluster from the 94 Rover, adding a tach, oil temp, and oil pressure gauges. 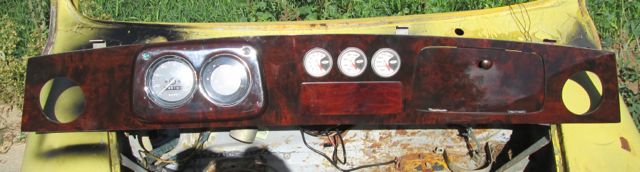 |
|
|
|
Post by (minisniper) on Feb 14, 2014 9:15:46 GMT
This is taking shape and is actually beginning to look the part, I'm looking forward to more as you progress  |
|
|
|
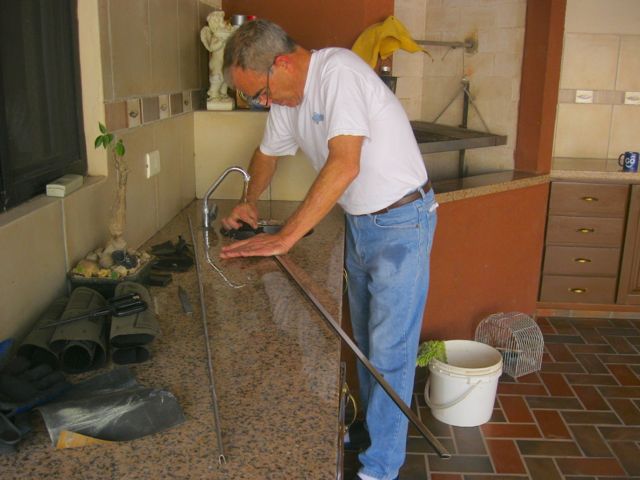
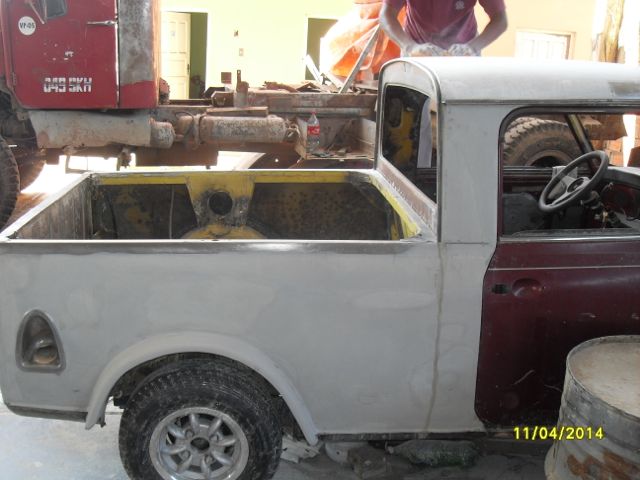
Post by richard1 on Feb 28, 2014 23:14:19 GMT
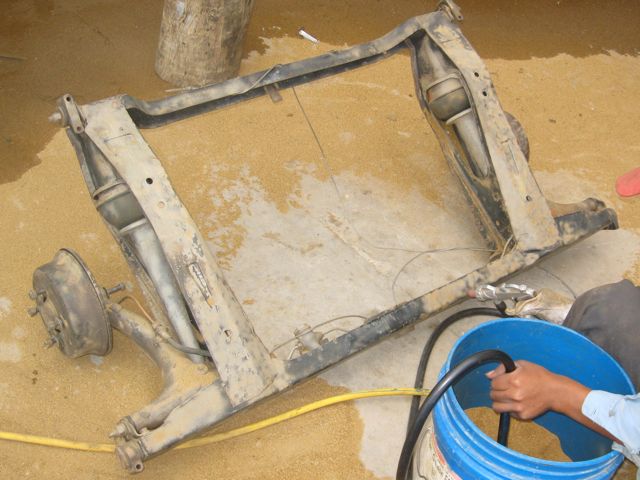
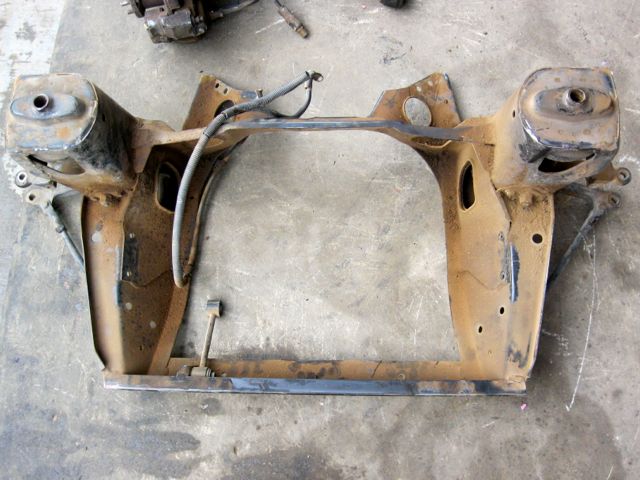
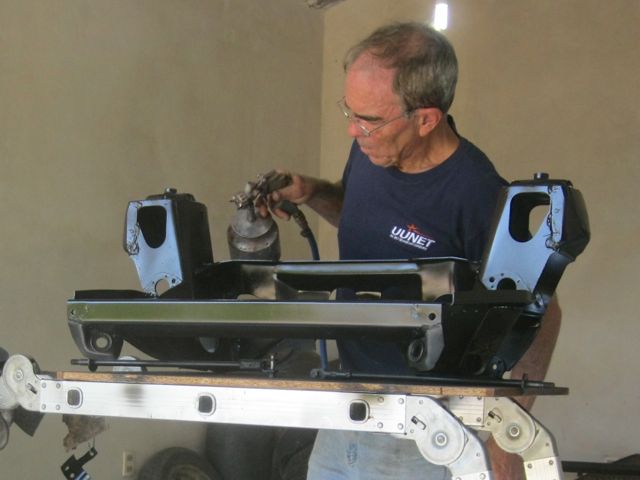
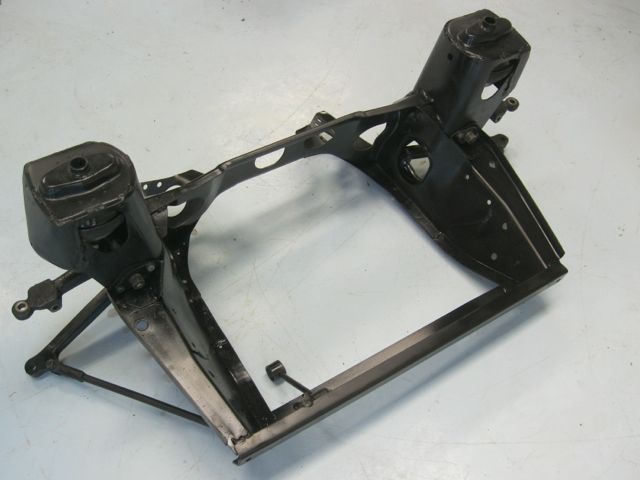
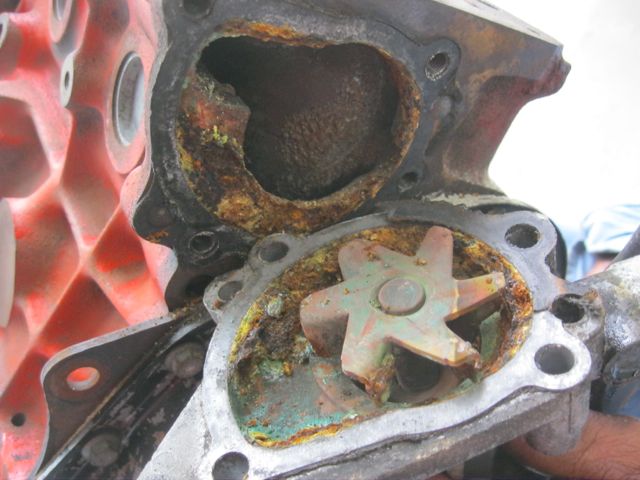
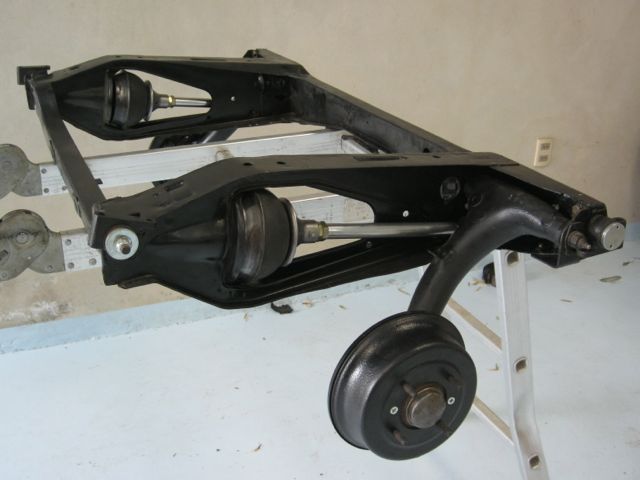
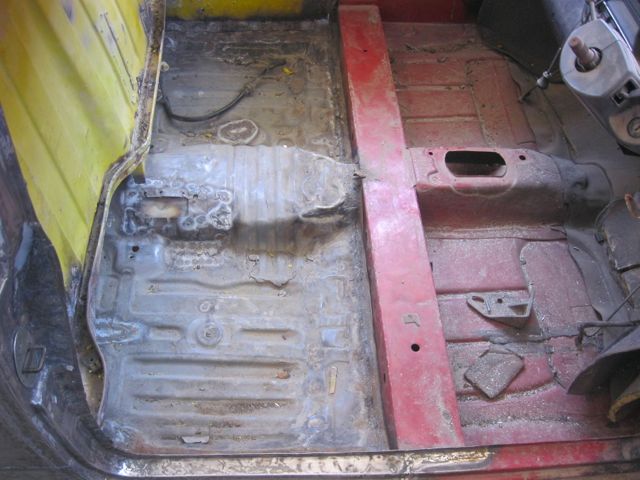
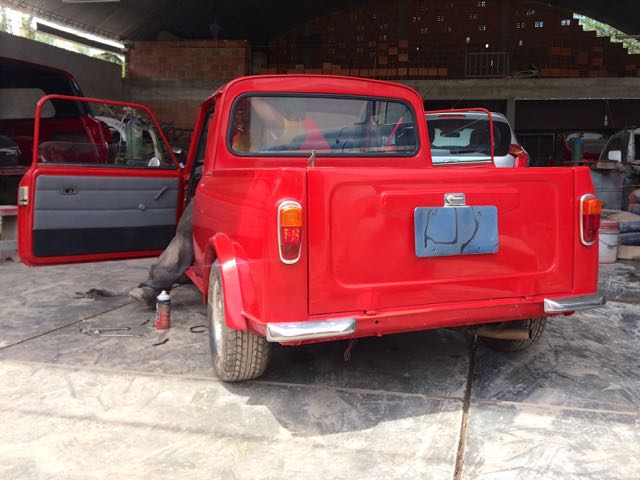
Didn't get as much done as I wanted on this trip. Body shop was very busy and too many distractions. Then after painting the engine compartment, found the sub-frame is not the right one. Cleaned up the gas tank 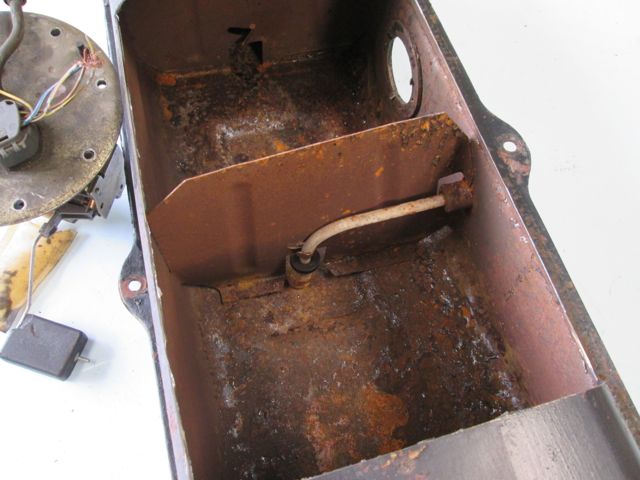 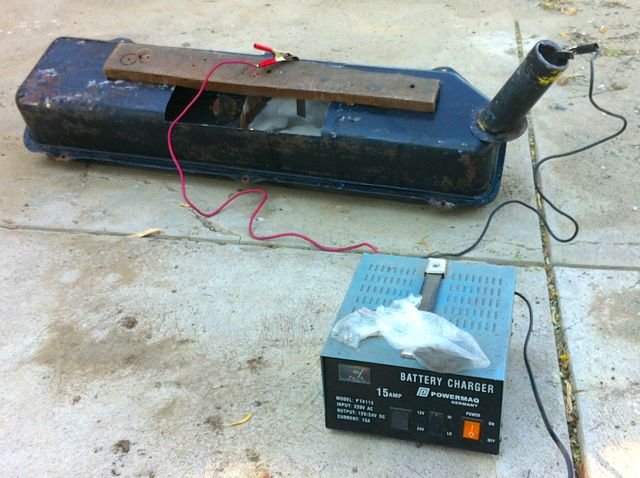 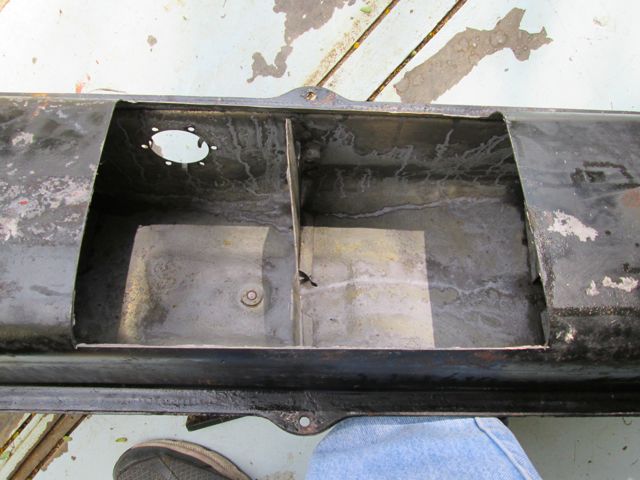 |
|
|
|
Post by notamini on Mar 4, 2014 1:35:38 GMT
Care to share some details on this process? Looks great! Is there any neutralising or anything afterward?
|
|
|
|
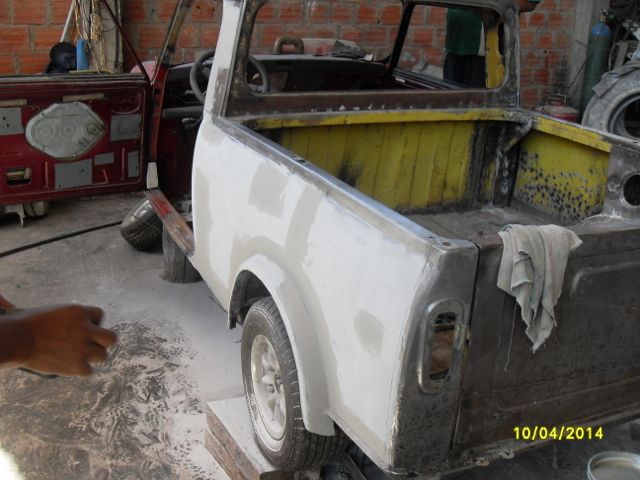
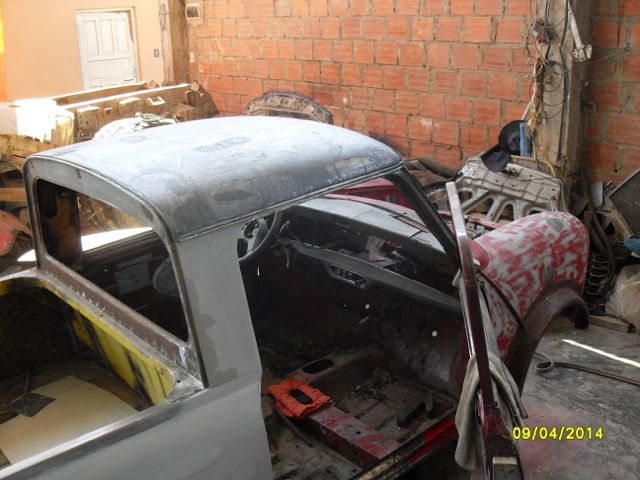
Post by richard1 on Apr 12, 2014 23:28:15 GMT
|
|
|
|
Post by richard1 on Oct 12, 2014 12:29:34 GMT
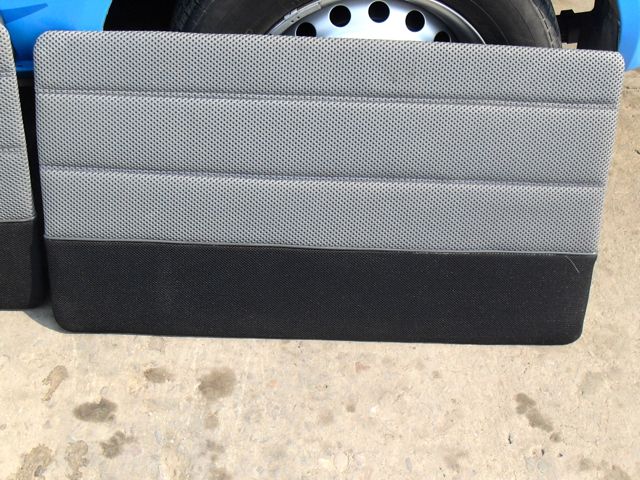
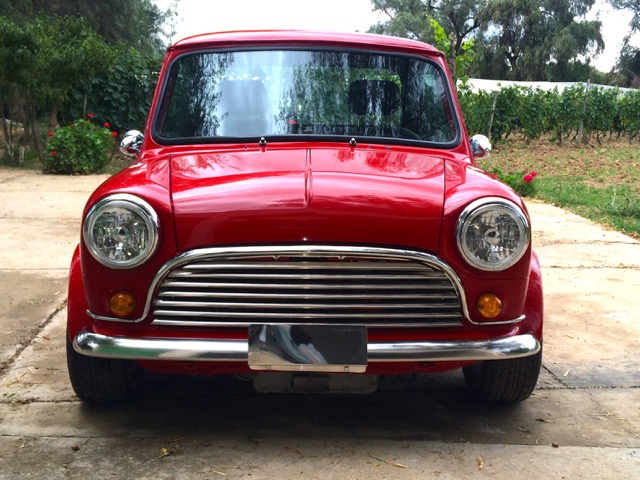
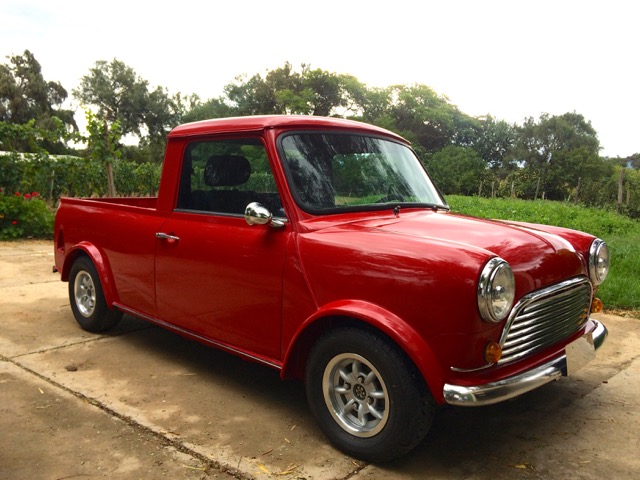
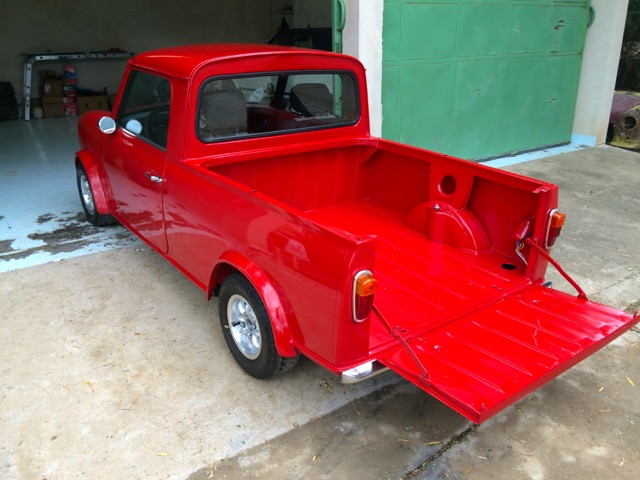
Finally something to add. Got a little done back in June, like getting the engine into my modified frame, but then dead time. I finally got back and spent most of the last couple of weeks visiting the body shop 4 to 6 times a day. We installed Shoulder belts in the side panels 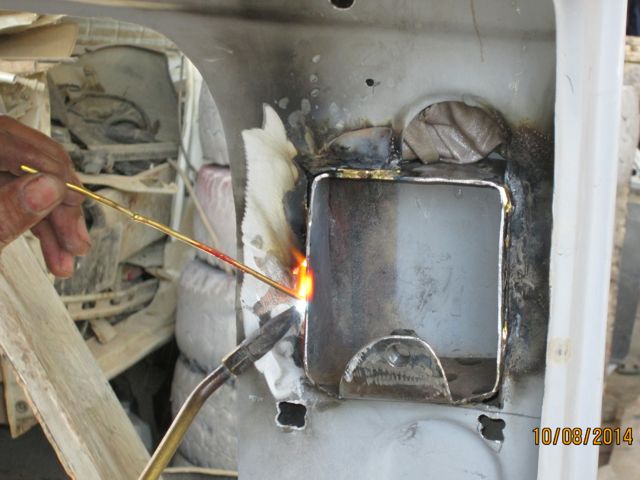 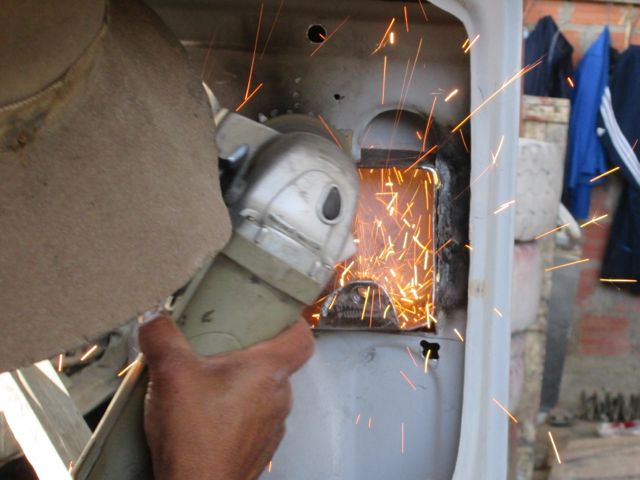 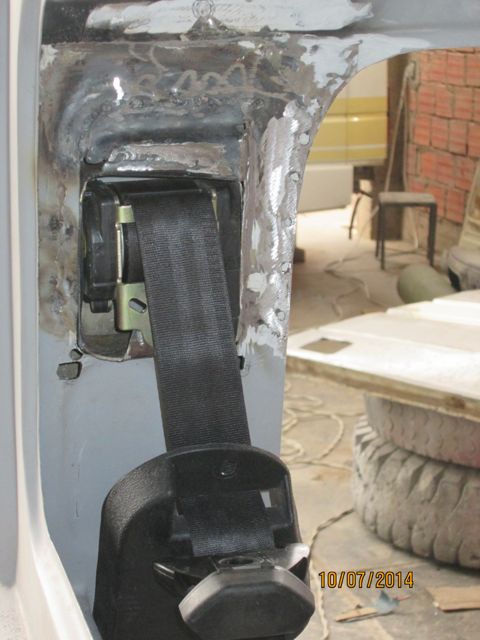 And I took the dashboard pieces to an upholster I knew could recover them (pic of before and after) 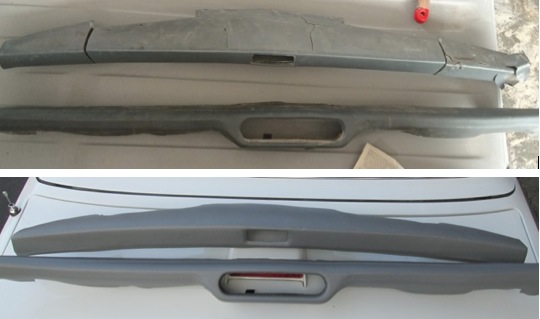 After finishing a lot of touch-up and sealing the bed to the fenders with foam  He got down to the paint, so here are the first pictures of it painted, with Sikkens poliester. 2 liters of base, two liters of top, and two liters of clear. Color: COF, sometimes called BLVC 818, called (from what I can determine) "Signal Red" from 69 to 77, "Flame Red" from 88 to 99, and in some models "Modena Red" in 88 and 89. 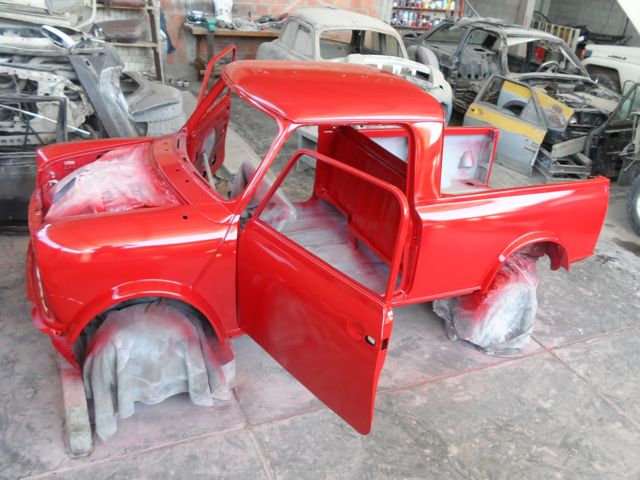 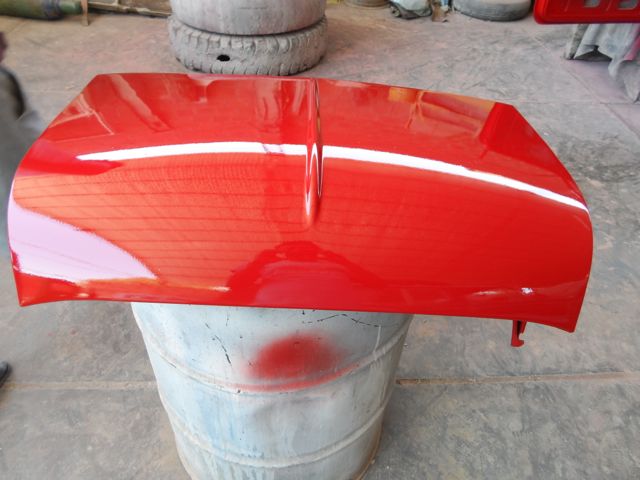 I had to return for a few days to Santa Cruz, but by the end of the week he should have his part assembled and I'll go back to connect the wires, cover the floors, headliner, etc. |
|
|
|
Post by (minisniper) on Oct 12, 2014 19:19:25 GMT
Amazing you are so close now I can't believe how well this is coming along and I have to say I have never enjoyed watching a rebuild as much as I have this one. |
|
|
|
Post by richard1 on Feb 6, 2015 0:19:35 GMT
|
|
|
|
Post by Stu on Feb 8, 2015 13:35:29 GMT
Richard it looks amazing. You must be very pleased with it  |
|
|
|
Post by clambod on Feb 9, 2015 8:30:12 GMT
Really brilliant job you have done there
|
|
|
|
Post by richard1 on May 6, 2015 17:27:29 GMT
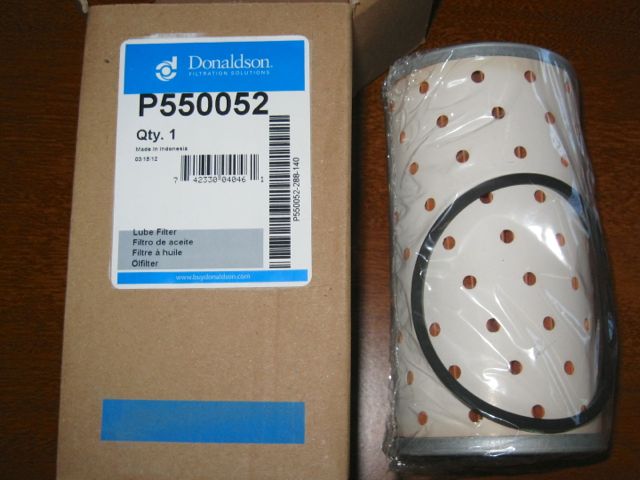
Finally got the engine connections straightened out. Didn't have the control module. Got that and couldn't get it to fire, so diagnosed and replaced a diode in the computer. Now the Engine runs nicely, brakes working, etc.
But hopefully someone will answer my transmission question, since as soon as I put it in gear it pushes oil out of the filter gasket. Also still need to figure out where to put the spring that pulls it back to idle, but that is minor.
|
|
|
|
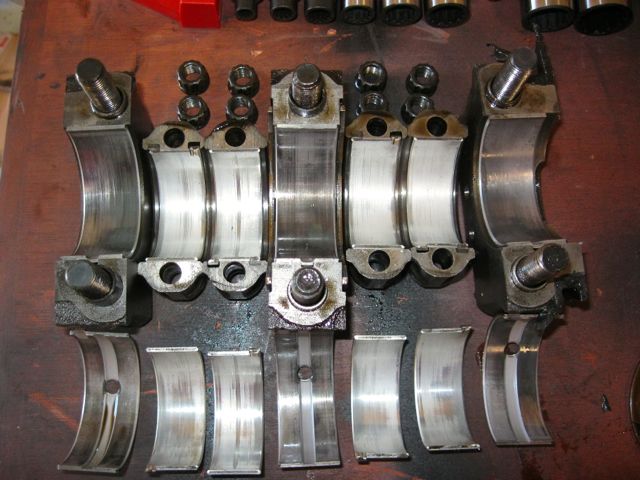
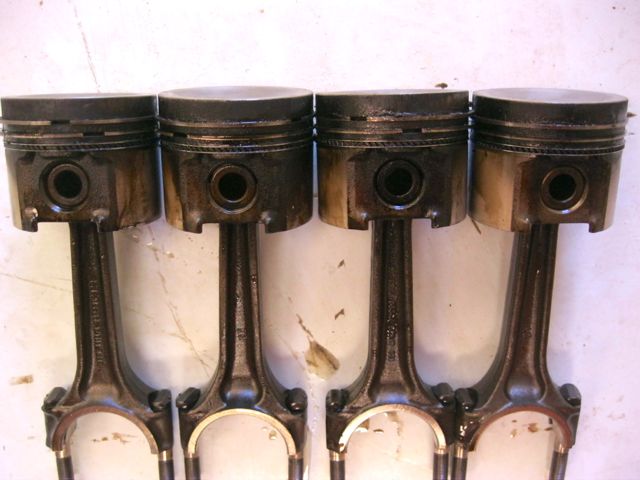
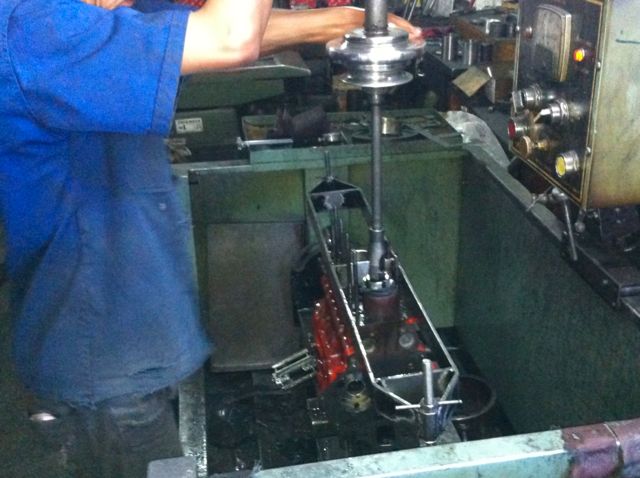
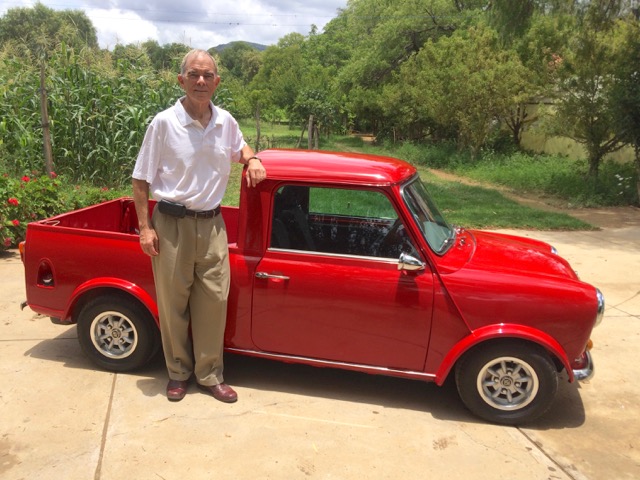
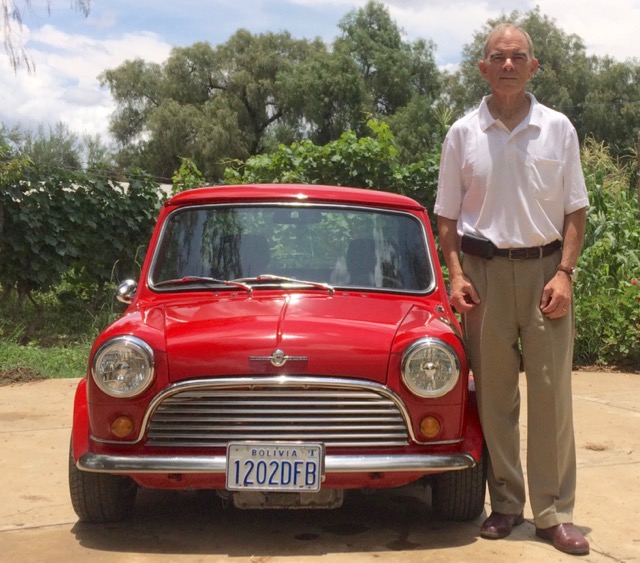
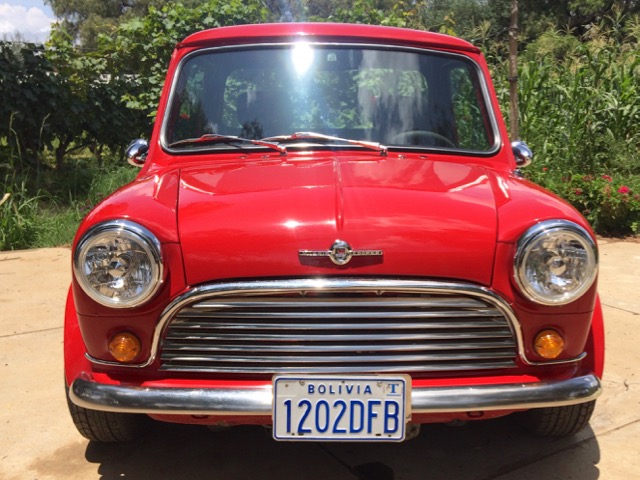
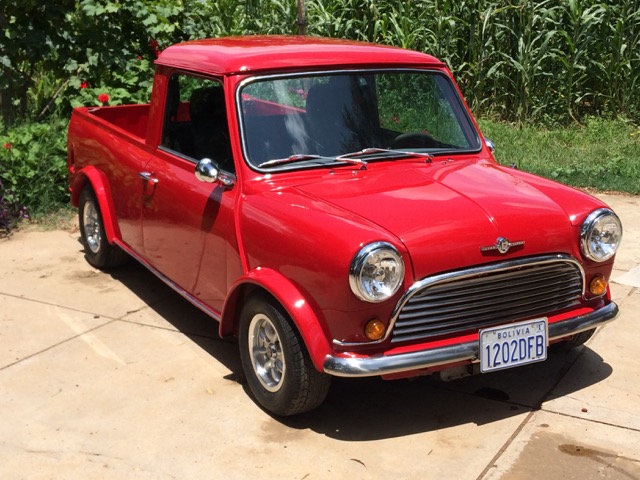
Post by richard1 on Sept 13, 2015 19:53:22 GMT
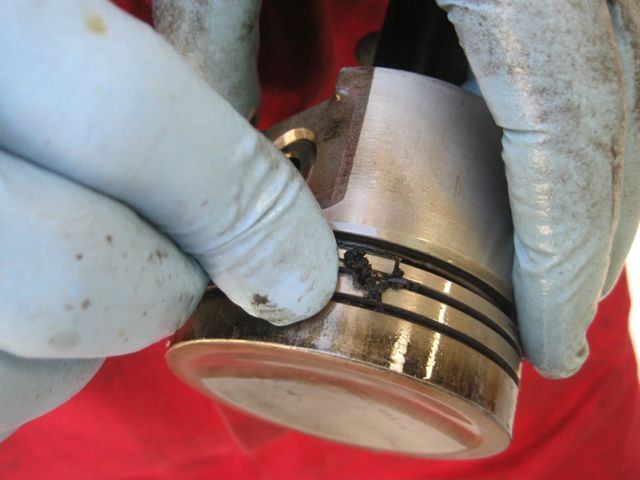
I thought I had updated this, but maybe just questions on the other posts. I found the pressure plate of the forward clutch assembly broken and the discs bent. After getting a new assembled set from KMP Engineering, I installed it, replaced the engine and still did not have wheel movement, so after finding slightly low oil pressure at the filter, I pulled it again (practice makes perfect - 70 minutes to remove the engine and sub frame. After separating the engine from the trans I replaced a few of the o-rings, adjusted the bands, and most importantly replaced a missing oil supply tube to the converter (when disassembling, apparently my brother-in-law pulled it out while I was getting the camera ready, so I assembles per pictures, and the tube ended up in the old engine parts). Any way, all is back together, engine timed and set up. Runs fine in and out of the driveway, but I need to replace the brake and accelerator return springs to make it driveable. I finished the dash and steering column wiring, etc. Next month I'll get to the little things, change the title and drive. 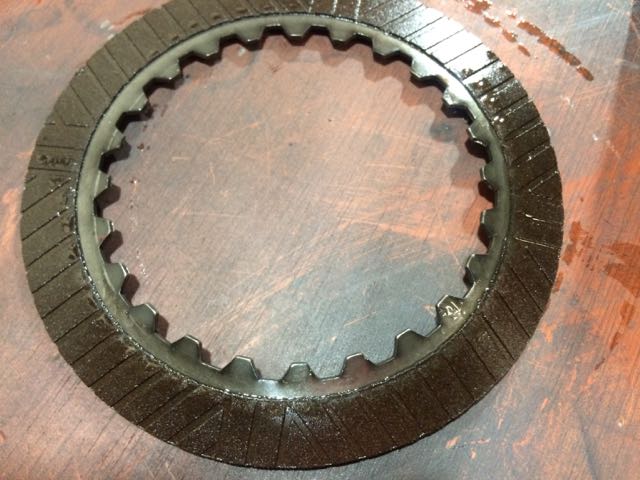 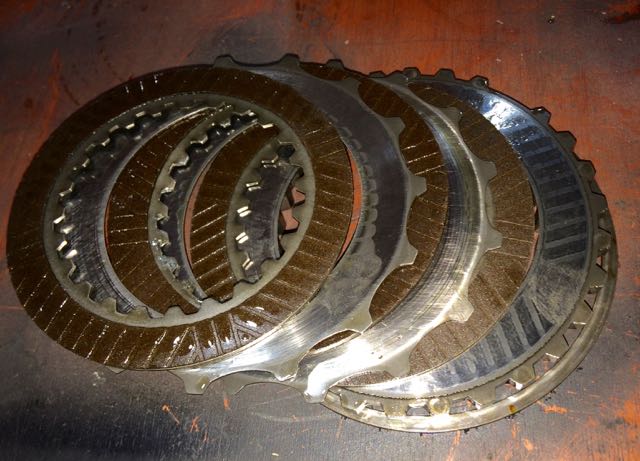 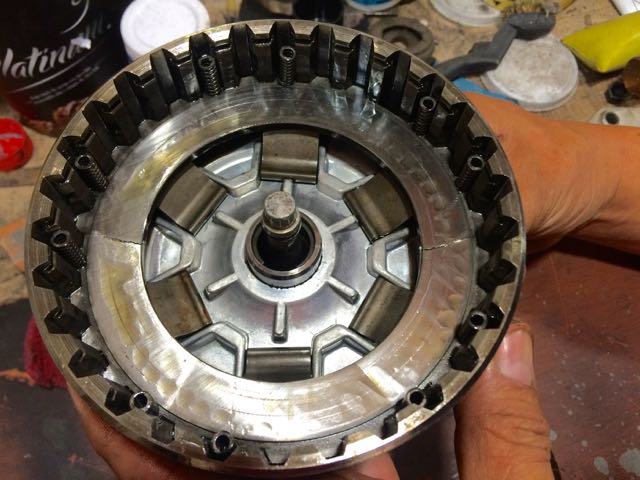 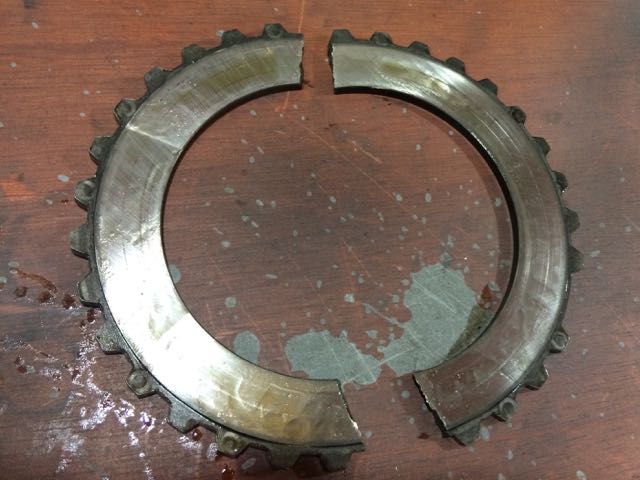 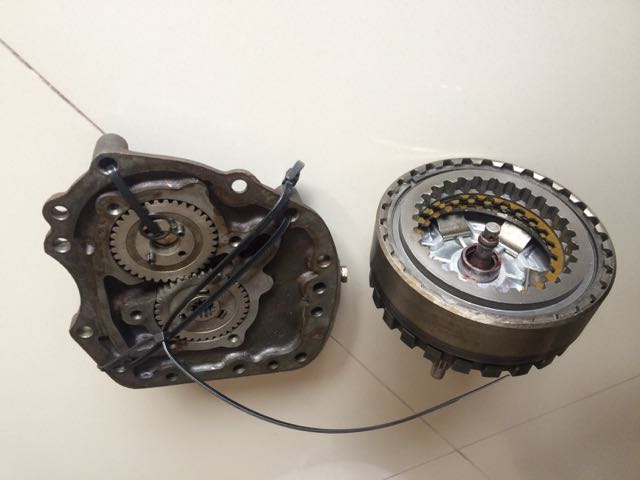 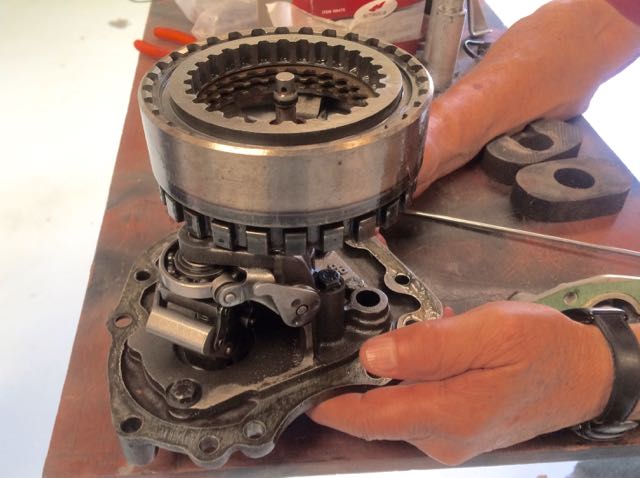 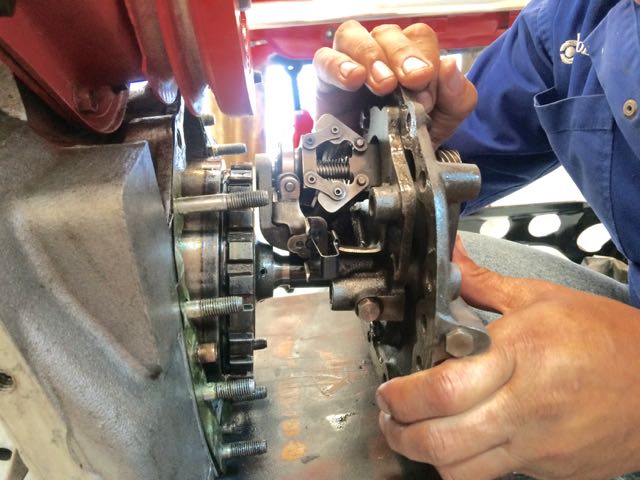   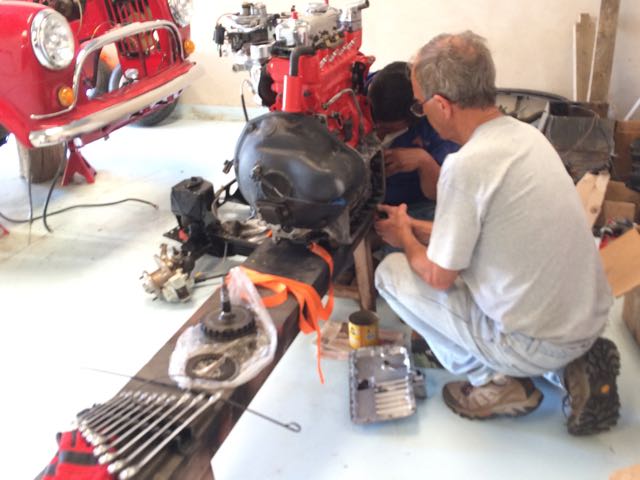 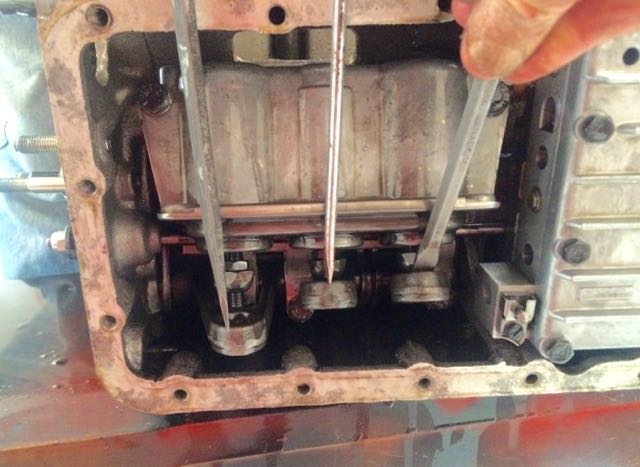 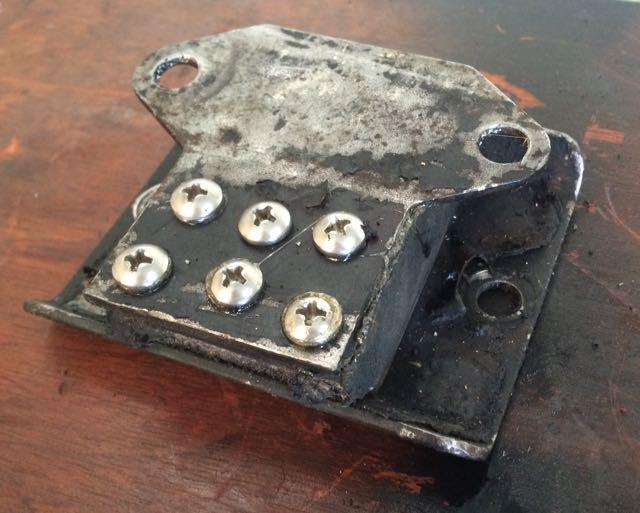 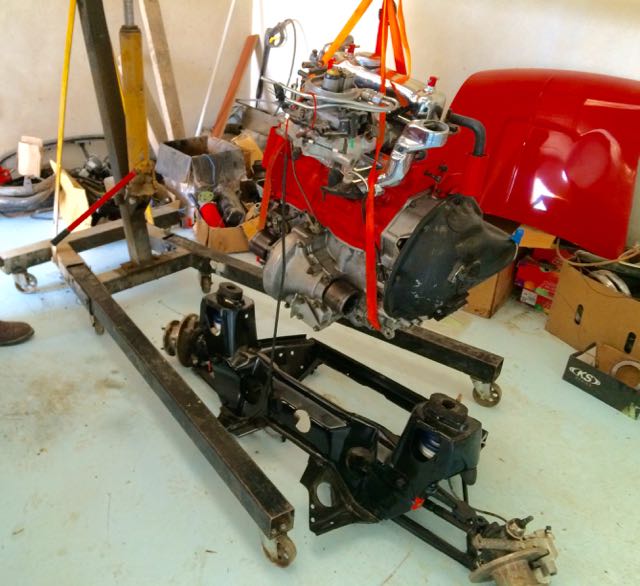 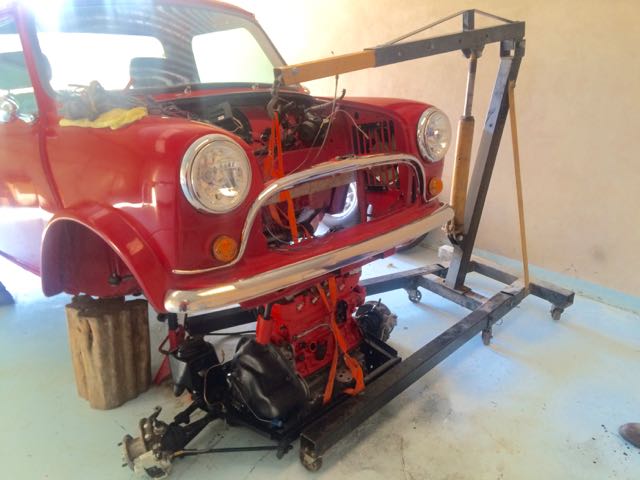  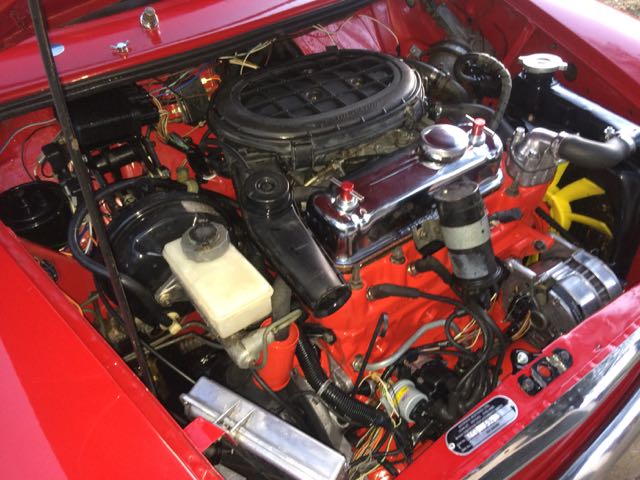 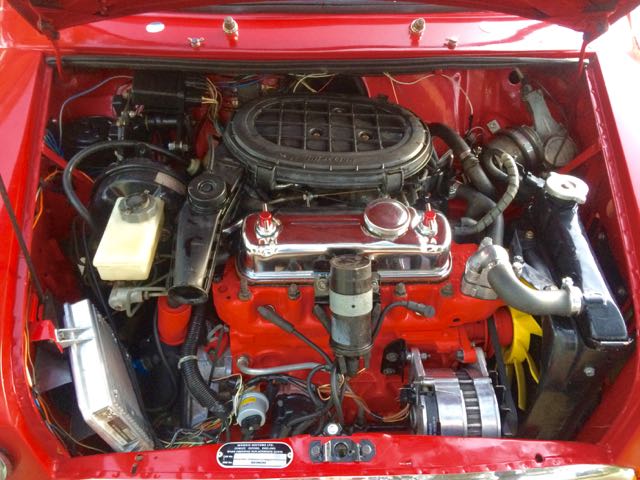 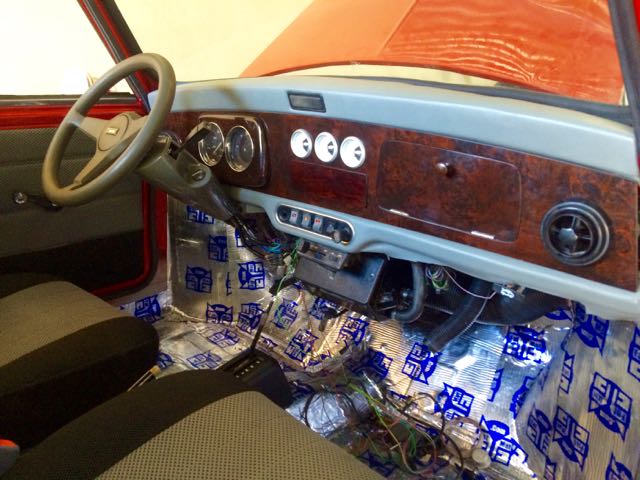 |
|
|
|
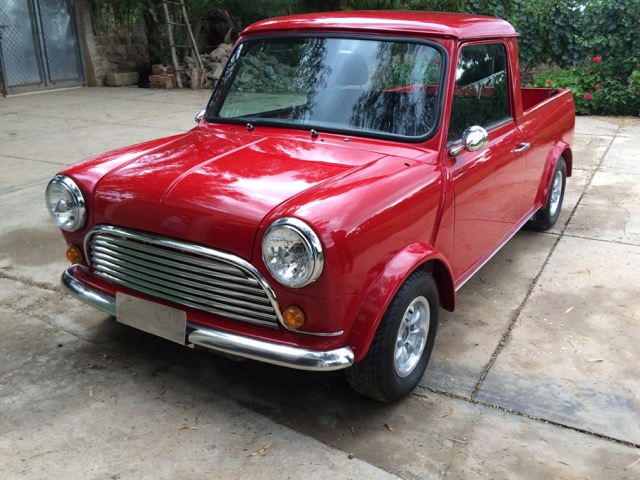
Post by richard1 on Dec 5, 2015 17:31:49 GMT
|
|